Lengthy Instructions to Install and Operate ESP32-CAM-VideoCam
This project is a compiled version of this sorce code https://github.com/jameszah/ESP32-CAM-Video-Recorder-junior
It can be run with or without wifi, with just a +5 and GND powering the ESP32.
If you want to get fancy, you can also add 2 switches to stop/start the recording, and to turn wifi on/off.
So, here are the lenthy instuctions:
Goto the github.io website … not github.com
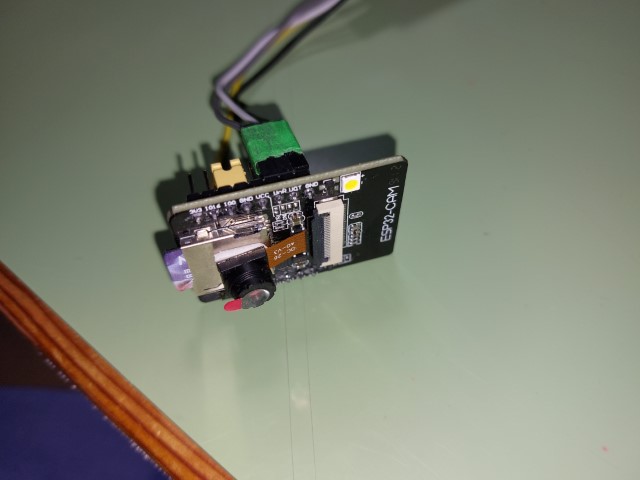
Wire up the ESP32-CAM Correctly
FTDI - ESP32
Gnd - Gnd
TX - UOR
RX - UOT
+5 - +5
When programming, jumper gpio0 to gnd (next pin)
Nice grapics from Dronebot https://dronebotworkshop.com/esp32-cam-microsd/

I have slightly different FTDI module - “shorter wires = fewer brownouts”
If you use a breadboard or long USB cable you will get brownouts on the ESP32.
Another solution is thick wires with nice soldering, and a 100 microFarad capactor between +5 and GND on ESP32
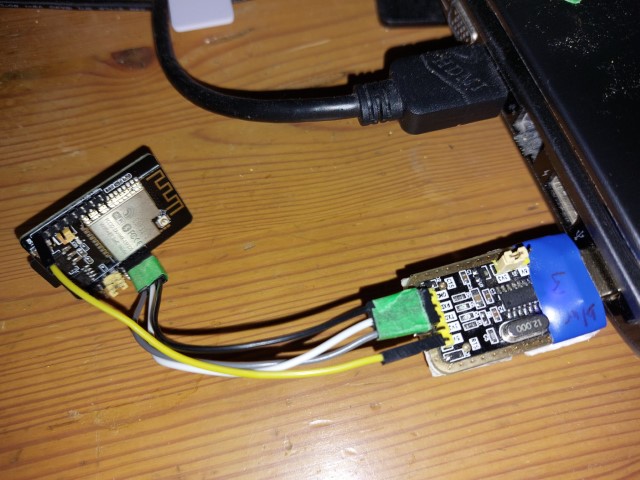
Make sure FTDI has jumper set to 3.3v data for the ESP32 pins
GND - RX - TX in sequence

GND - UOT - UOR in sequnce, giving us the RX-UOT flip, and jumper on GND-Gpio0
Plug in +5 to start in program mode
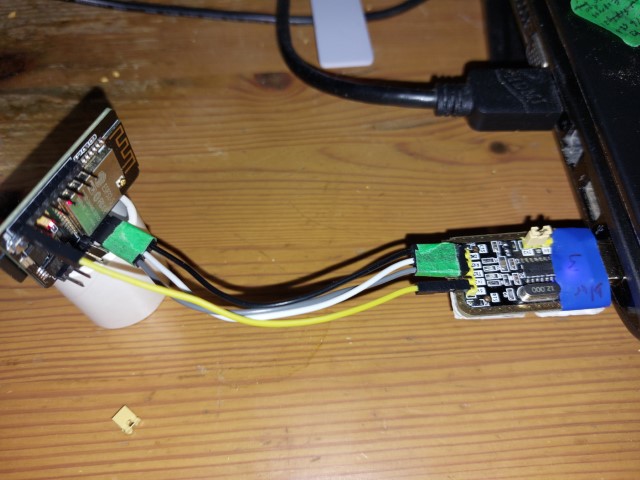
Unplug +5, remove GND-Gpio0 jumper, put power back, and we are filming. (Several steps below of programming before you do this.)
Click the Connect button
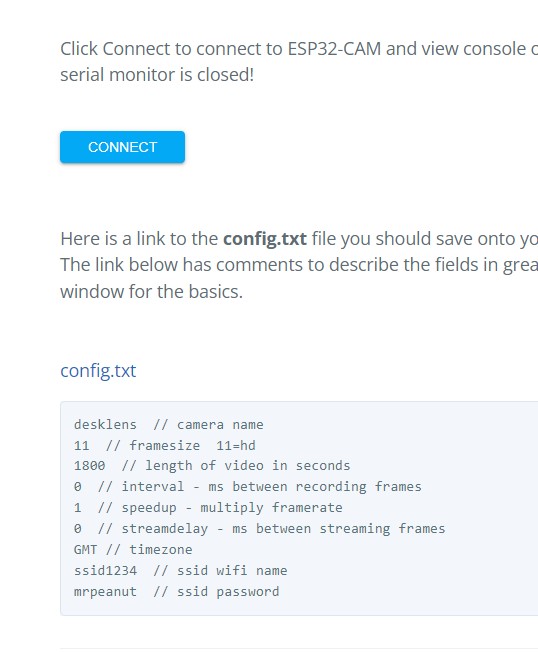
If this box is empty, we cannot see your ESP32 on a com port
Make sure the com port is free – not connected to arduino console for example
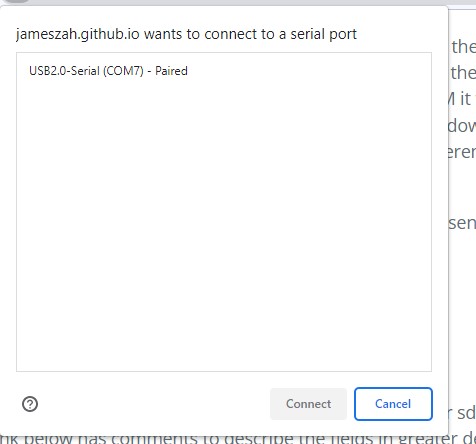
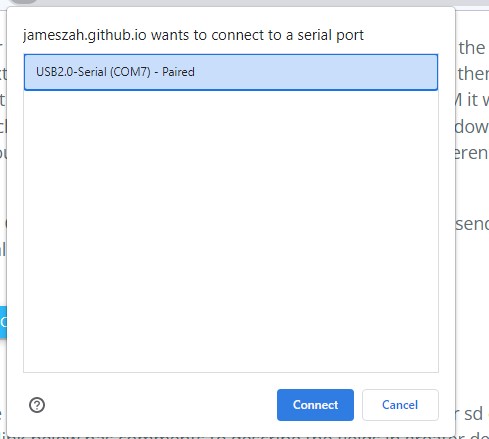
Click on the Correct Com port for your ESP32-CAM, and click Connect
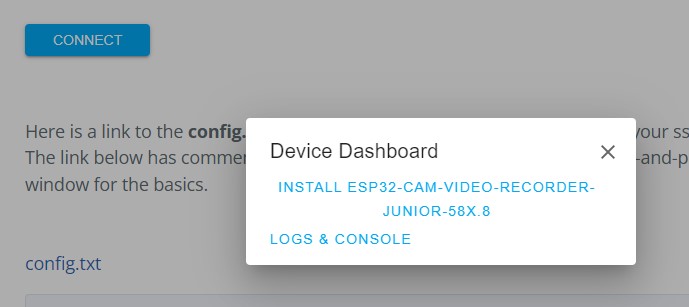
You should see this, then hit Logs and Console
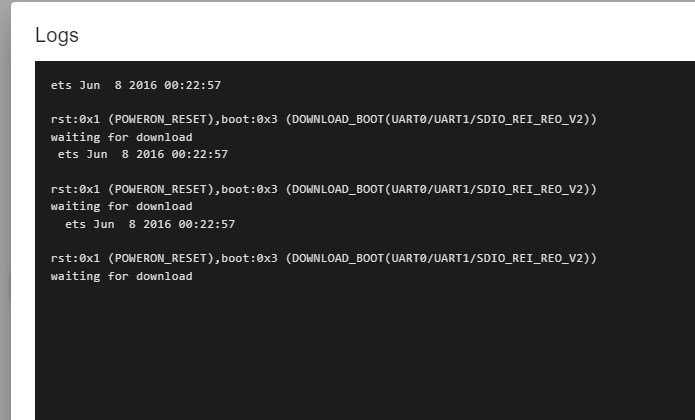
You will get this black box, now power on the ESP32, and you get this Ready to Program line
There are three on them here due to awkward plugging
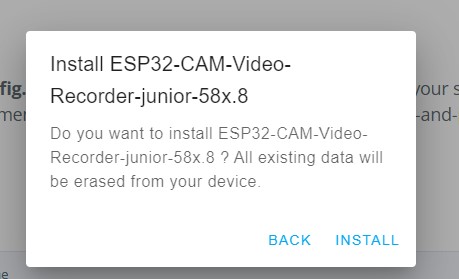
Hit the Back Button in lower right of Black Box, and click Install ESP32-CAM-Wideo-Recorder
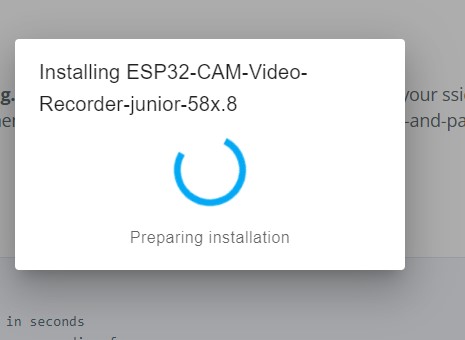
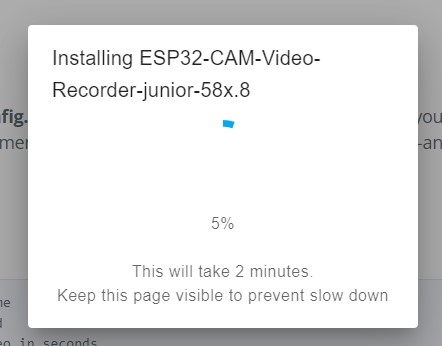
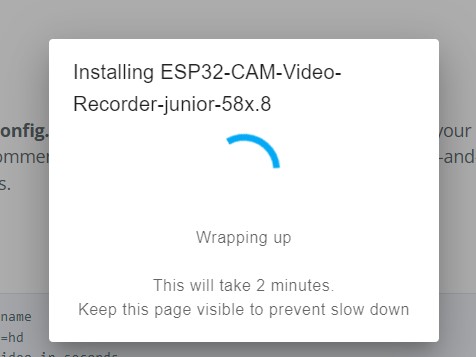
And hit Install at this prompt - your ESP32 will be erased and installed
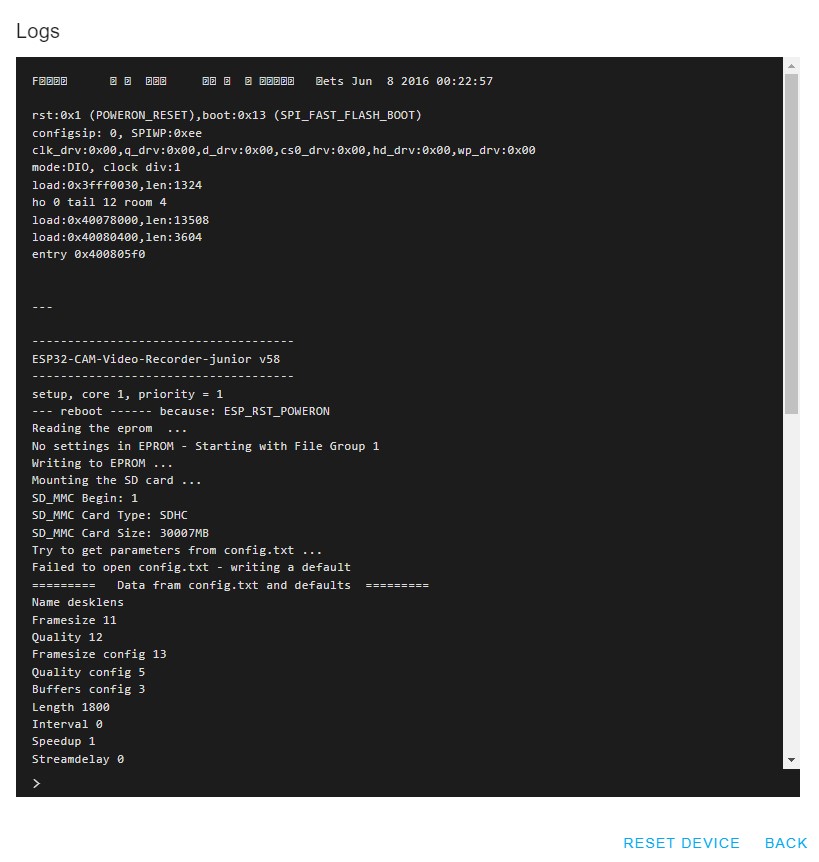
Next, power off ESP32, remove the Gpio0 jumper, restart the Logs and Console, then power it on
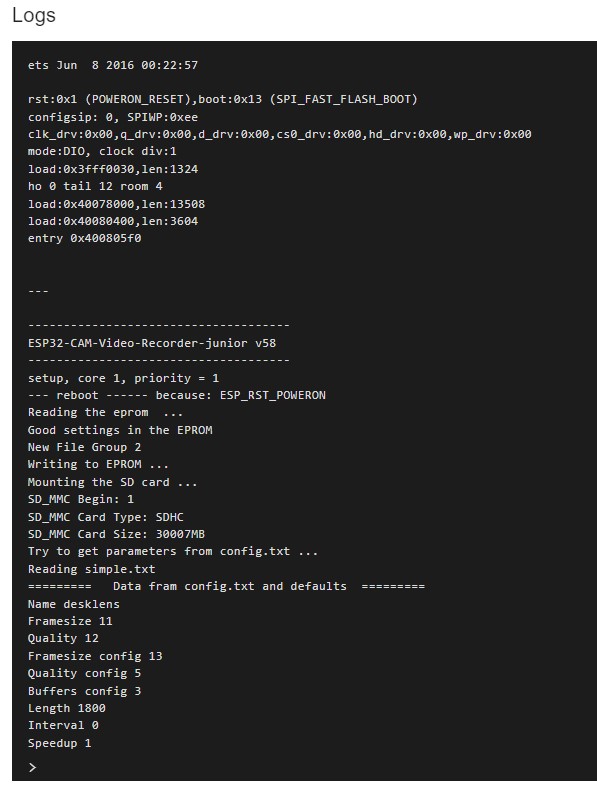
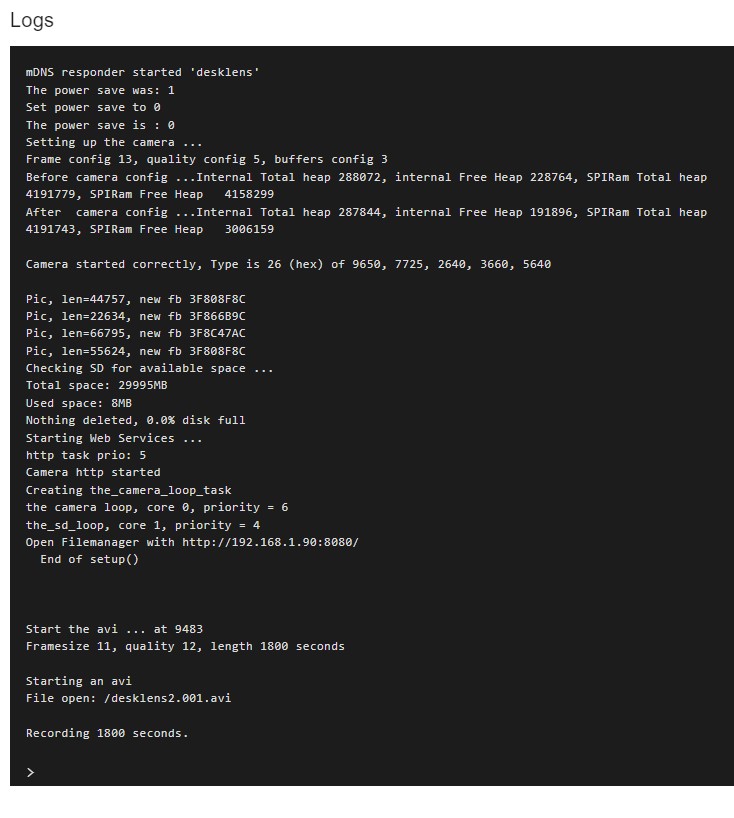
- The first 6 lines are the standard boot message.
- The Program starts
- You have nothing in EPROM
- Mount the SD card, and you have no config.txt
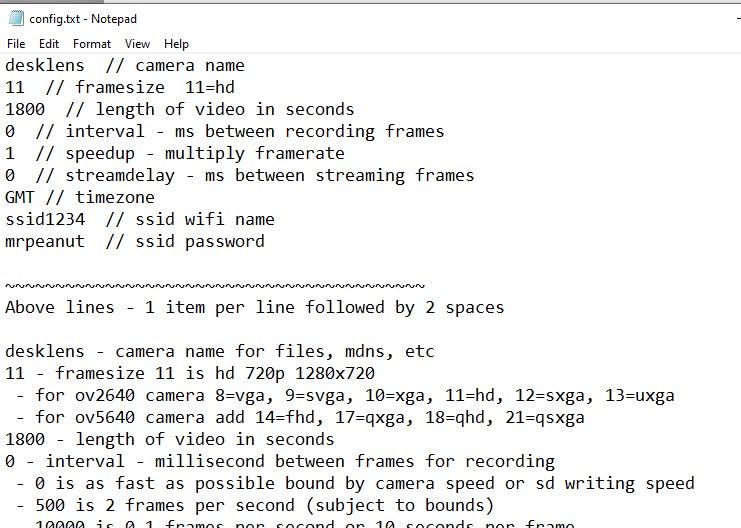
- Create a config.txt, and display the parameters, …
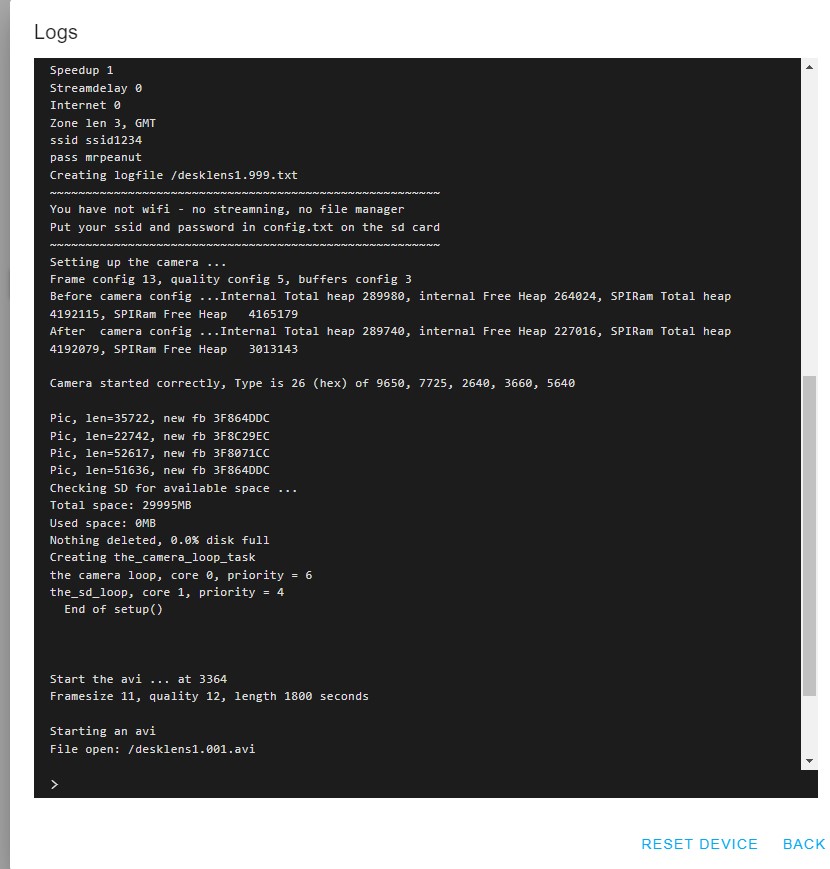
Slide down the the mouse scroll wheel
- More prarmeters
- The ssid1234 is the code for no-wifi
- Create log file on sd, with your camera name and #1 session
- Set up camera
- Check you have 4MB of psram
- Start camera and print out type - ov2640 is the standard camera
- Create some buffers
- Delete the oldest files if your sd is 80% full
- Start the camera and sd taks
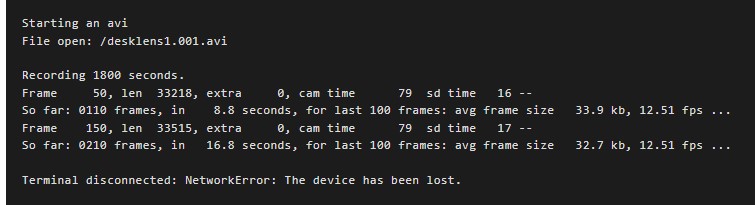
- Start recording the movie
- It is desklens1.001.avi or camera name, session #1, movie #1
Accidently unplug the +5 volt wire
- You will see this on the console.
- This console only seems to update with a blank line
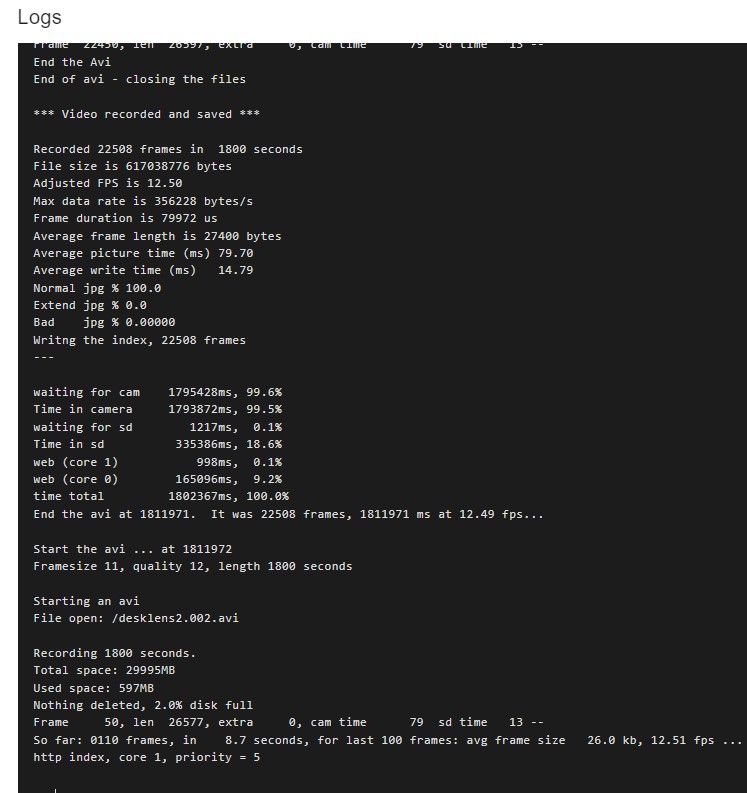
- You will see a line every 100 frames to show you progress with some nice stats
- And another line on an individual frame with more stats
Edit in your SSID and Password
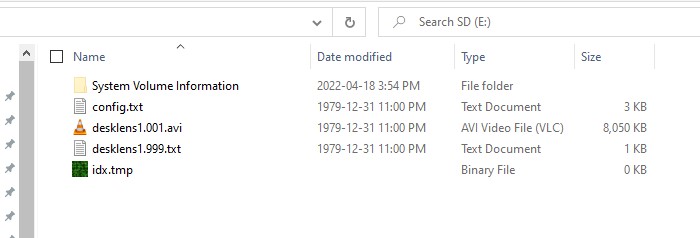
- Since we screwed up the first recording, use this opportunity to pull out the sd, put it in your computer, and edit the config.txt on the sd card
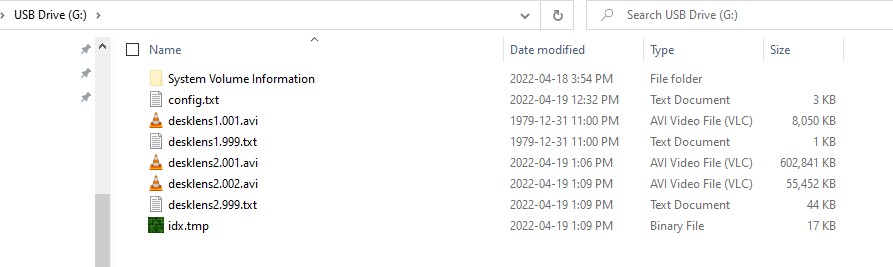
- These are the files for the first session - the config.txt, the one movie, and the log file for the session.
- They have no dates because with no wifi, we do not know the date
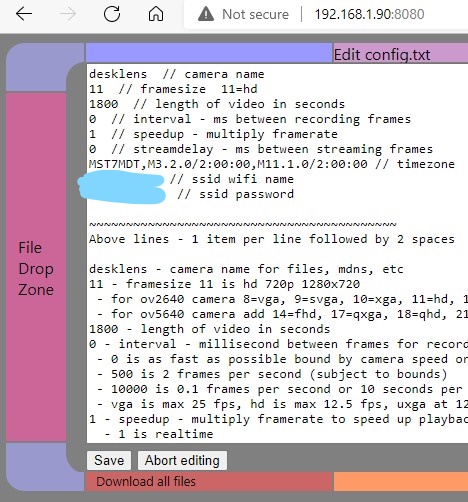
- You can also add your timezone, and parameters or recording to realtime, timepalse, streaming speed, etc as described in config.txt file
- Make sure there are 2 spaces after the number or text, and before the // comment
Edit in your SSID and Password - Option #2
Another option to SSID and password, is to edit in the word “wifiman” where the ssid should be, then save the file and put it back in the ESP32-CAM. Then the next time you boot, the ESP32-CAM will start the WiFiManager.
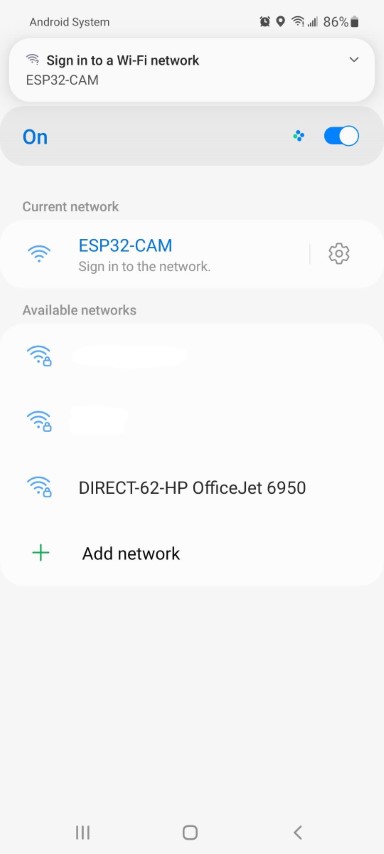
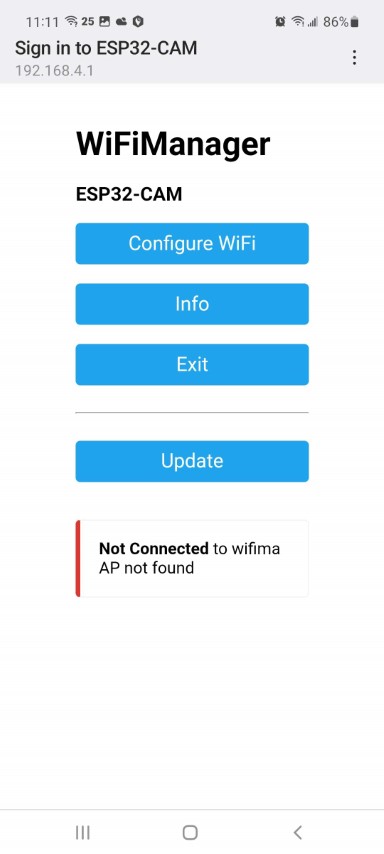
- With your phone or computer connect to the WiFi host ESP32-CAM (disconnecting from your home router)
- Click on the ESP32-CAM device - there is no password for this WiFi Host, and it should take you to website 192.168.4.1
- It will show you this screen, where you click on Configure WiFi
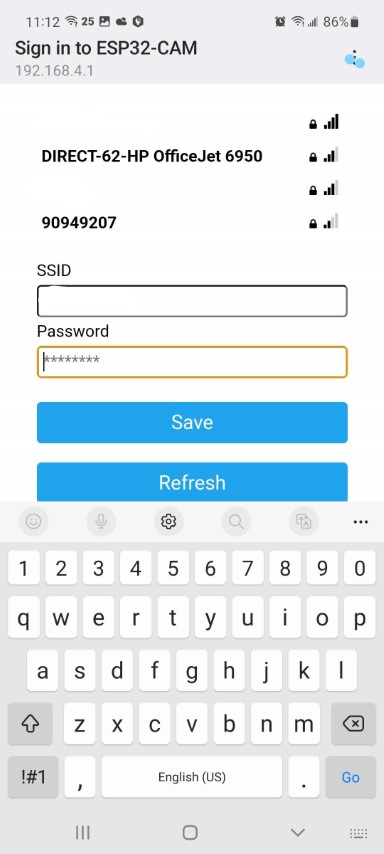
- Select your home router for the ESP32-CAM to connect to (your SSID), and enter the password for your router
- And click Save, and your ESP32-CAM will connect to your router, and your phone should re-connect to your router
- From then on, your ESP32-CAM will remeber your router and connect to it, until you edit in a different ssid/password into the config.txt file
- If you leave your house, it will try for 30 seconds to connect to your home router, and then it will start WiFiManager, and give you 60 seconds to set up a new ssid/password. If at the end of that it cannot connect, it will just start recording with no-wifi.
Now put the sd back in ESP32 and starts Logs and Console, and power up
- You will see these 3 screens
- Reboot message
- You now have Eprom, so goto next session #2
- Mound sd card, and get your new config and display
- Create a new log file for session #2
- Connect to wifi - print out the names to make sure they are correct
- Get the date and time
- Print the ip address
- Regisiter your name “desklens” with your router
- Set up camera
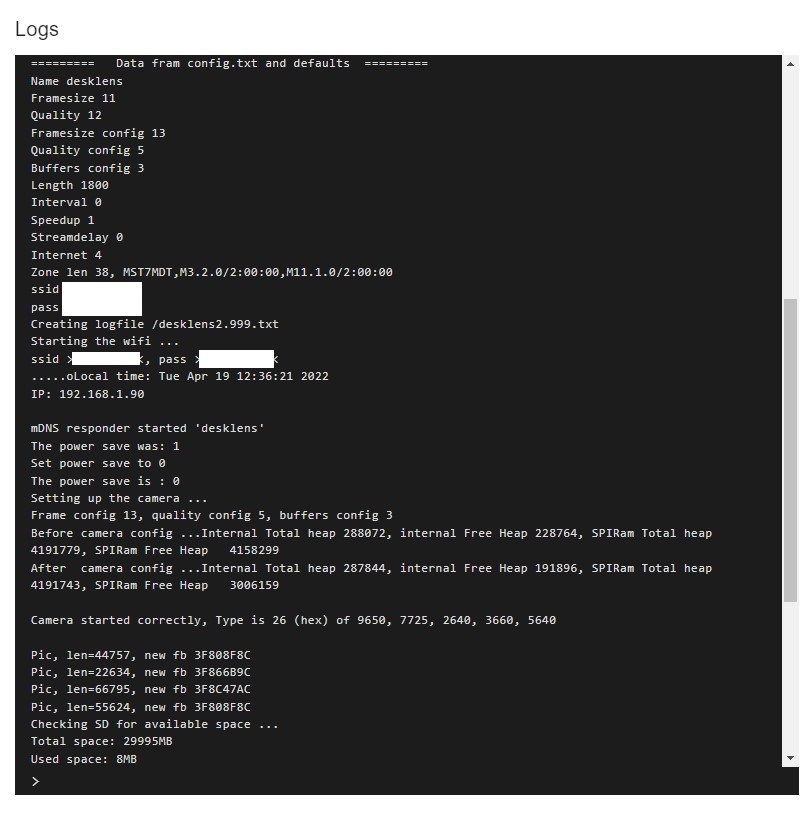
- Start recording desklens2.001.avi
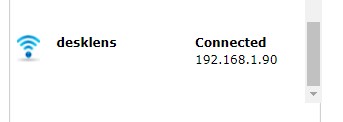
Now look at Router to see your ESP32-CAM
This is how it looks on mine
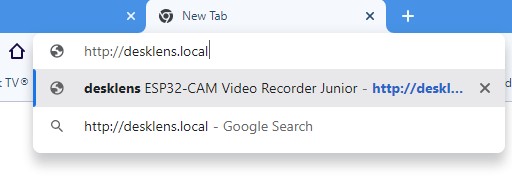
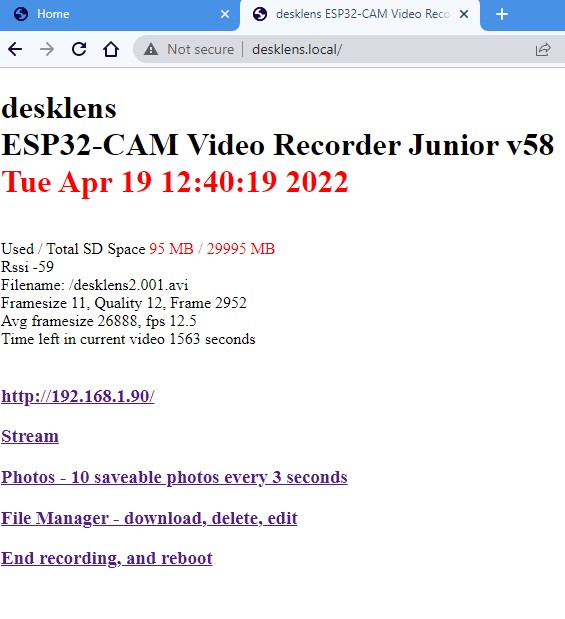
Go to a browser on computer or phone and enter the name or ip of ESP32-CAM
And you get some stats
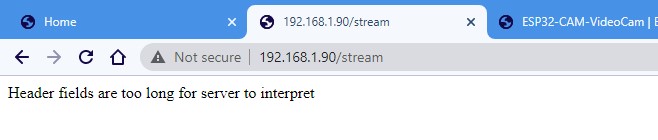
If you use Windows Chrome, you might get this … Switch to Windows Edge
There is a bugfix to allocate more cookie buffers in ESP32 core
You can click the IP to update the stats, and you get his on console
The http index line … use this to force console to update

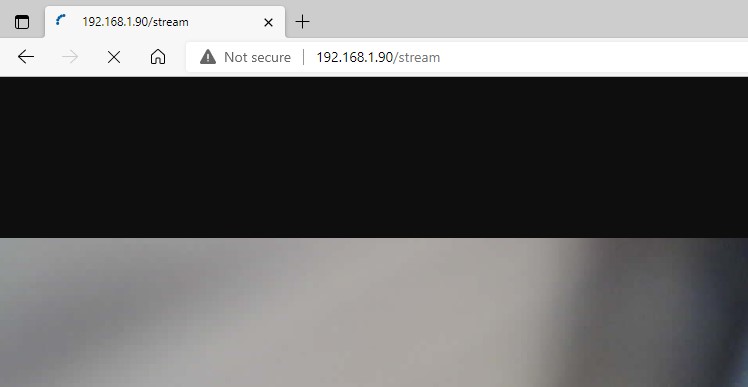
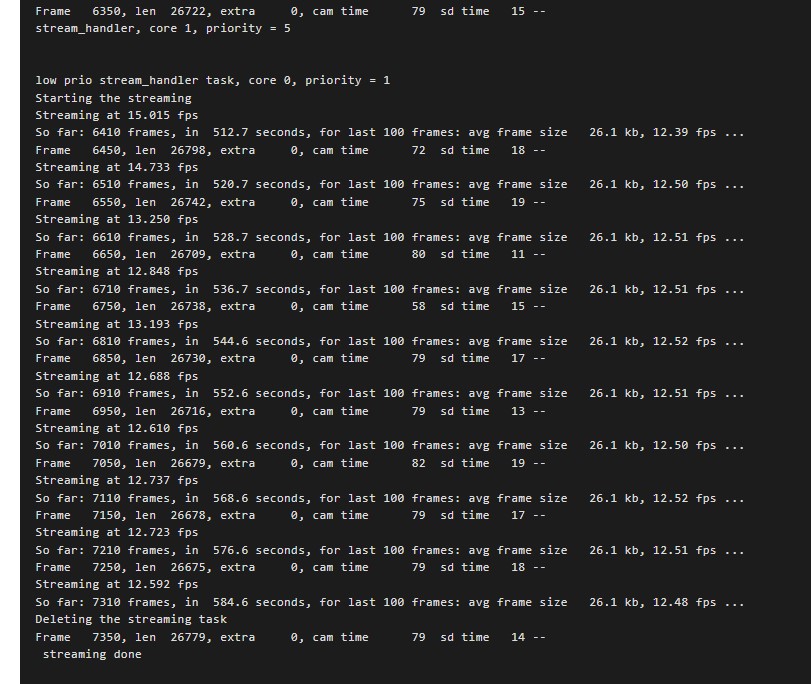
Try the Streaming on browser, and stats on console
- You get cosole messages when streaming begins and ends.
- The console shows it is recording at 12.5 fps (the camera max), but streaming fluxuates a little from 15 down to about 12.
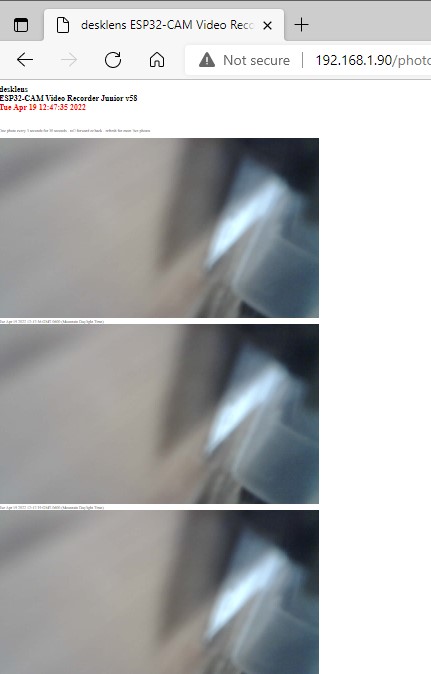
Try the 10 photos at intervals - you can save these with your browser
Try the File Manager
These are your files from session #1 and #2 … with dates
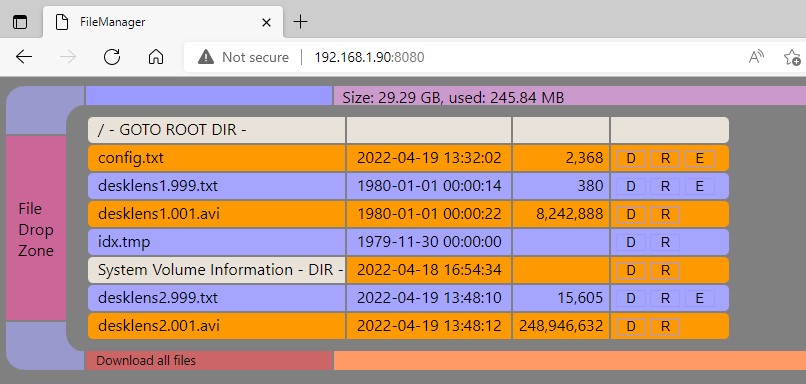
Click the filename to download it to your browser computer
These mjpeg avi’s are big files - not enough ram or cpu time in a ESP32 to compact them.
The ESP32 wifi is about 3.5 Mega-bits-per-second, and in a house with your router 50 feet away, you can get 3 Mbps when you are not recording, or about 2 Mbps when recording, with the on-module antenna. Moving outside you will get slower speeds, and may need an external antenna.
But when you pull out the sd card, and plug it into your computer, you can copy the movies at about 20 Mega-bytes-per-second, or about 80 times faster than the transfer or wifi option. Plus if you are recording, and doing a full speed file transfer, you will really burn out your battery, and heat up the ESP32, so … it is of modest benefit, unless your camera is remote. The wifi is very good for configuration, looking through the viewfinder, and occasionally grabbing a short avi. I’m working on a version to hop around inside a movie to see if there is anything worth copying to the computer, without downloading the entire thing.
The file will land in your default download directory – here it is one my Windows computer


Click the “E” beseide config.txt to edit the config file
After you save the new config, you have to click “End Movie and Reboot” for it to take effect

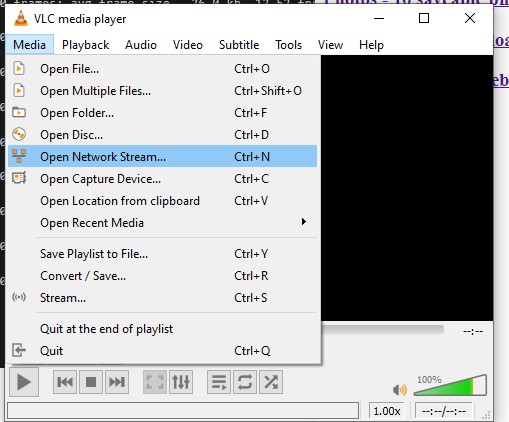
Start vlc on computer, Open a Network Stream
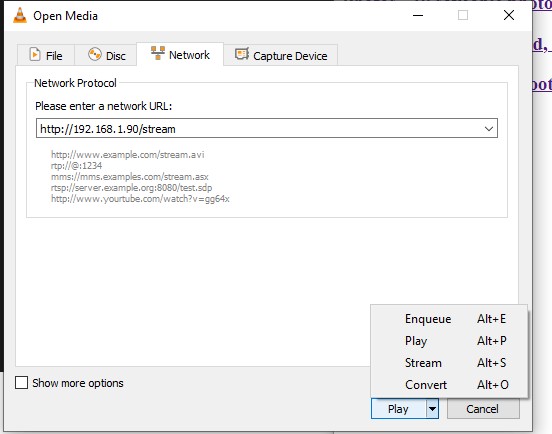
Enter the url from the Stream link on website and select Convert
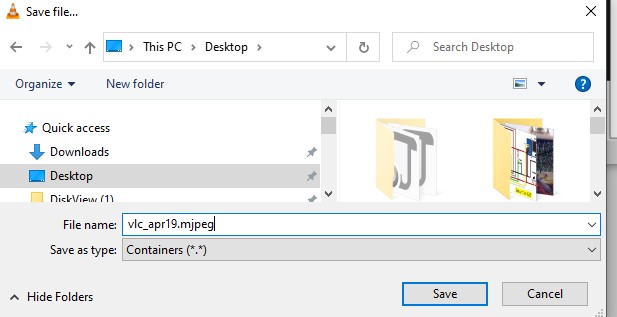
Select Dump Raw Output, Browse to a FileName
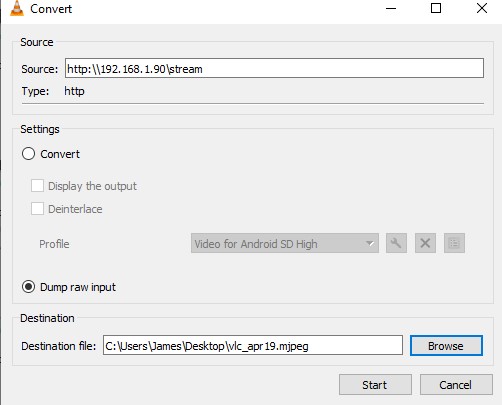
Choose a computer file name to record the video stream, hit Save
and hit Start
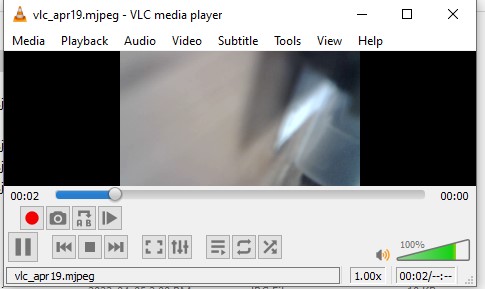
The recording will be a mjpeg file, which has no sense of time, it just plays the stream as fast as it can.
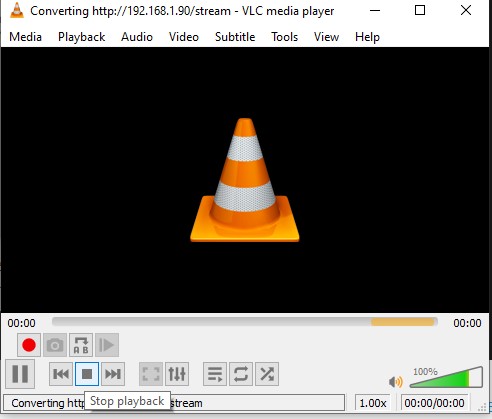
hit the square stop button to stop streaming, and stream record
When the sd video recording is done, you see some stats on the console, and in the log file
Now unplug everything, and put sd card in computer, and here are the movies
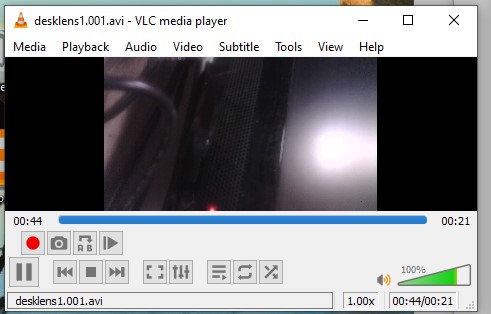
Any movie that does not end gracefully will not have an index, so vlc will show this, and it will not play at correct speed or length
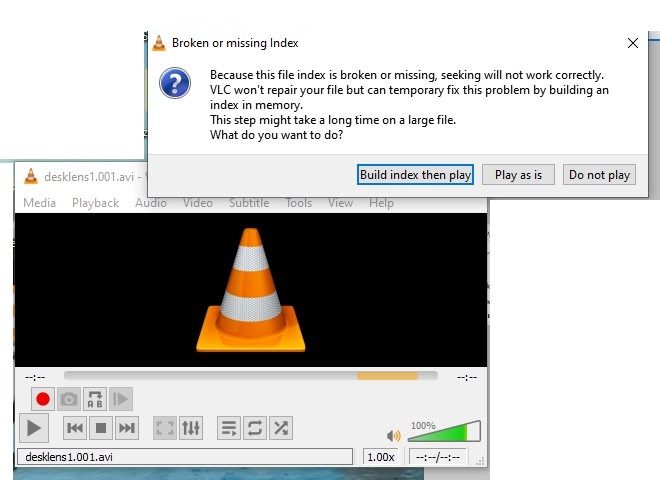
Here you are 44 seconds into a 21 second movie, from the unplug 5v incident - the movie has no index
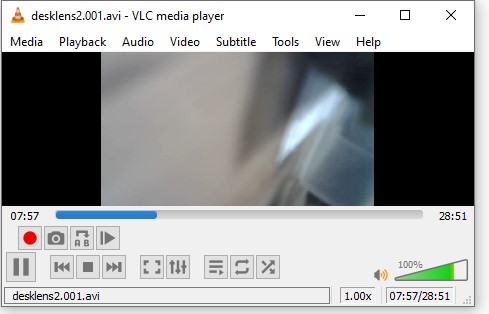
The sd recorded movie, looks like the stream and computer recorded movie
Questions, Comments, Like and Subscribe …
Other Programs in the ESP32-CAM-Video Recorder Family
https://github.com/jameszah/ESP32-CAM-Video-Recorder-junior
- the source code for this program
Here is the fancy version of the hardware - the format switch below now re-used as wifi on/off.

https://github.com/jameszah/ESP32-CAM-Video-Recorder
- older version, that will send photos and links to telegram.org at the end of every movie, and let you download that movie.
- has some PIR controls as well
https://github.com/jameszah/ESP32-CAM-Video-Telegram
- this will record photos or realtime/timelapse movies in memory and send the photo or movie to a telegram.org bot.
- you can use your telegram app on phone or copmputer to request a photo/movie, or have it triggered by a pir or radar module.
- No sd card required for this app, all the output is sent to telegram
Are you still reading this?
I need a coffee! Documentation is exhausting.